NEAR 숫자 세기
이 숫자 세기 예제는 숫자를 저장하고 increment, decrement, 그리고 reset 메서드를 공개하는 친근한 탈중앙화 앱입니다
Obtaining the Counter Example
You have two options to start the Counter Example.
- You can use the app through
GitHub Codespaces, which will open a web-based interactive environment. - Clone the repository locally and use it from your computer.
| Codespaces | Clone locally |
|---|---|
🌐 https://github.com/near-examples/counters |
Structure of the Example
The example is divided in two main components:
- The smart contract, available in two flavors: Rust and JavaScript
- The frontend, that interacts with an already deployed contract.
- 🌐 JavaScript
- 🦀 Rust
┌── sandbox-ts # sandbox testing
│    ├── src
│    │    └── main.ava.ts
│    ├── ava.config.cjs
│    └── package.json
├── src # contract's code
│    └── contract.ts
├── package.json # package manager
├── README.md
└── tsconfig.json # test script
┌── src # contract's code
│    └── lib.rs
├── tests # sandbox test
│    └── test_basics.rs
├── Cargo.toml # package manager
├── README.md
└── rust-toolchain.toml
Frontend
The counter example includes a frontend interface designed to interact seamlessly with an existing smart contract that has been deployed. This interface allows users to increase or decrease the counter as needed.
Running the Frontend
To start the frontend you will need to install the dependencies and start the server.
cd frontend
yarn
yarn dev
계속해서 NEAR 계정으로 로그인하세요. 계정이 없는 경우 즉시 만들 수 있습니다. 로그인한 후 + 및 - 버튼을 사용하여 숫자를 높이거나 낮춥니다. 그런 다음 Gameboy 버튼을 사용하여 재설정하고 카운터가 눈을 깜박이게 만드세요!
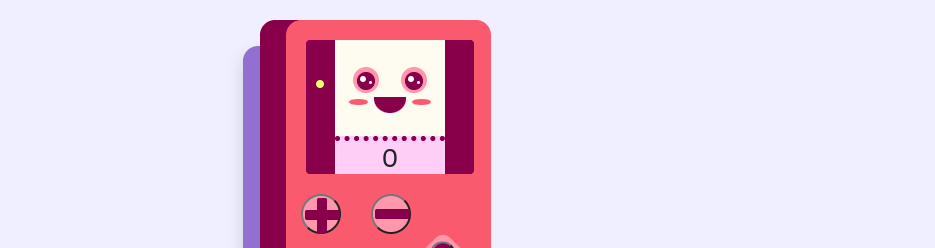
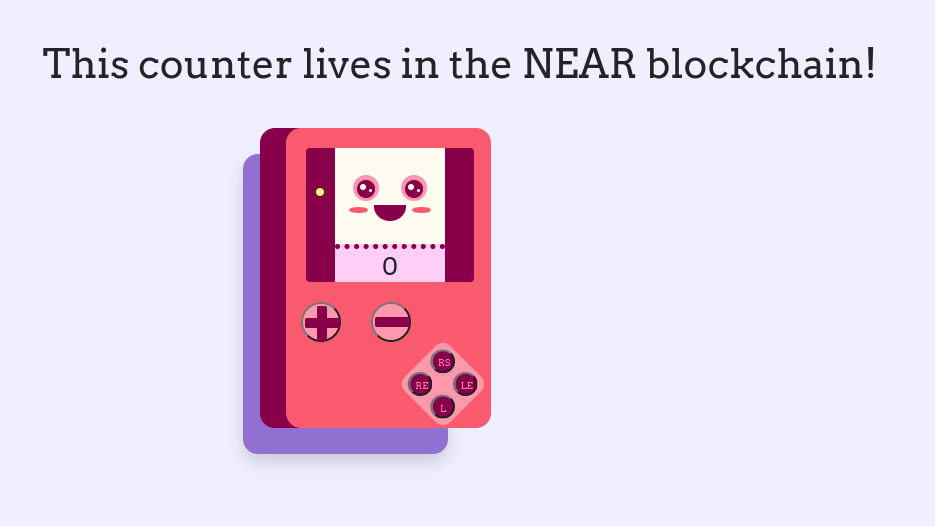 Frontend of the Counter
Understanding the Frontend
The frontend is a Next.JS project generated by create-near-app. Check _app.js and index.js to understand how components are displayed and interacting with the contract.
- _app.js
- index.js
Loading...
Loading...
Smart Contract
컨트랙트에는 get_num, increment, decrement, 그리고 reset이라는 네 가지 메서드가 있습니다. get_num 메서드는 현재 값을 반환하고, 나머지 메서드들은 값을 수정합니다.
- 🌐 Javascript
- 🦀 Rust
Loading...
Loading...
Testing the Contract
The contract readily includes a set of unit and sandbox testing to validate its functionality. To execute the tests, run the following commands:
- 🌐 JavaScript
- 🦀 Rust
cd contract-ts
yarn
yarn test
cd contract-rs
cargo test
integration tests use a sandbox to create NEAR users and simulate interactions with the contract. :::Deploying the Contract to the NEAR network
In order to deploy the contract you will need to create a NEAR account.
- 🌐 JavaScript
- 🦀 Rust
# Optional - create an account
near create-account <accountId> --useFaucet

# Deploy the contract
cd contract-ts
yarn build
near deploy <accountId> ./build/counter.wasm
# Optional - create an account
near create-account <accountId> --useFaucet

# Deploy the contract
cd contract-rs
cargo build
near deploy <accountId> ./target/wasm32-unknown-unknown/release/counter.wasm
testnet key in the config.js file. :::CLI: Interacting with the Contract
To interact with the contract through the console, you can use the following commands
# Get the current number of the counter
near view counter.near-examples.testnet get_num

# Increment the counter
# Replace <accountId> with your account ID
near call counter.near-examples.testnet increment --accountId <accountId>

# Decrement the counter
# Replace <accountId> with your account ID
near call counter.near-examples.testnet decrement --accountId <accountId>

# Reset the counter to zero
# Replace <accountId> with your account ID
near call counter.near-examples.testnet reset --accountId <accountId>
counter.near-examples.testnet with your accountId. :::Moving Forward
A nice way to learn is by trying to expand the contract. increment 및 decrement에 인자를 추가하여, 사용자가 변화시킬 값의 정도를 선택할 수 있도록 수정해 보세요. For this, you will need to use knowledge from the anatomy and storage sections.
At the time of this writing, this example works with the following versions:
- near-cli:
4.0.13 - node:
18.19.1 - rustc:
1.77.0